
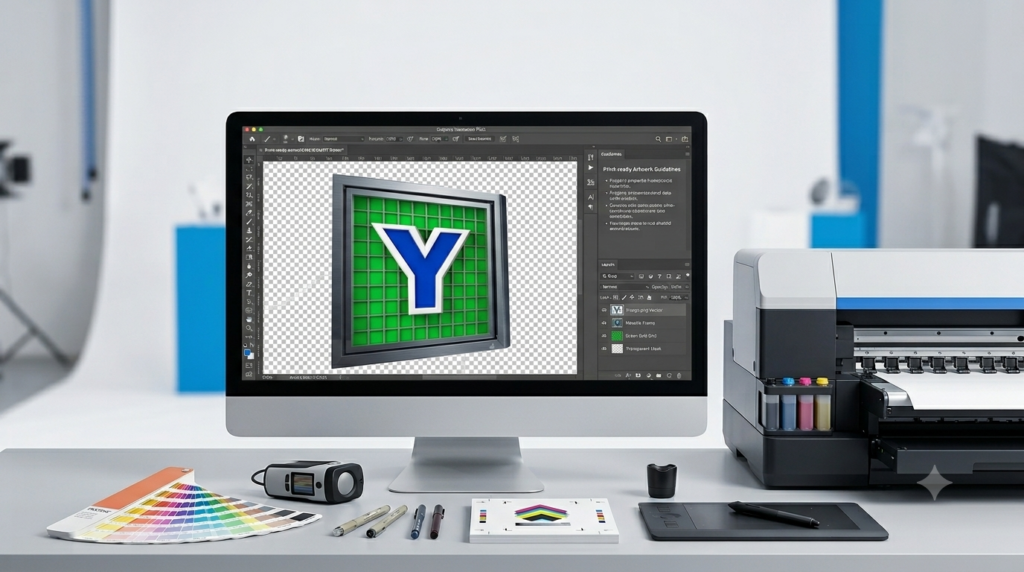
How to Prepare Artwork for DTF Printing: Best Tips
ne of the biggest reasons DTF prints fail has nothing to do with the printer itself. Many problems actually begin long before ink ever touches film. Poor image resolution, incorrect sizing, bad backgrounds, and improper color settings can all ruin an otherwise great design.
Knowing how to prepare artwork for DTF printing is one of the most important skills for producing professional results consistently.
Whether you’re creating apparel for a business, sports team, school, or ecommerce brand, properly preparing your artwork can help you avoid costly mistakes, reduce wasted materials, and improve overall print quality.
In this guide, we’ll walk through seven essential best practices that professional printers use every day. By implementing these simple techniques, you’ll create cleaner prints, brighter colors, sharper details, and more durable transfers while improving your production workflow.
Use High Resolution Artwork From The Beginning
Image quality directly impacts the final transfer quality.
Low-resolution images may look acceptable on a phone screen but become blurry when enlarged for apparel.
Always use:
- PNG files
- PSD files
- AI vector files
- PDF vector files
Recommended resolution:
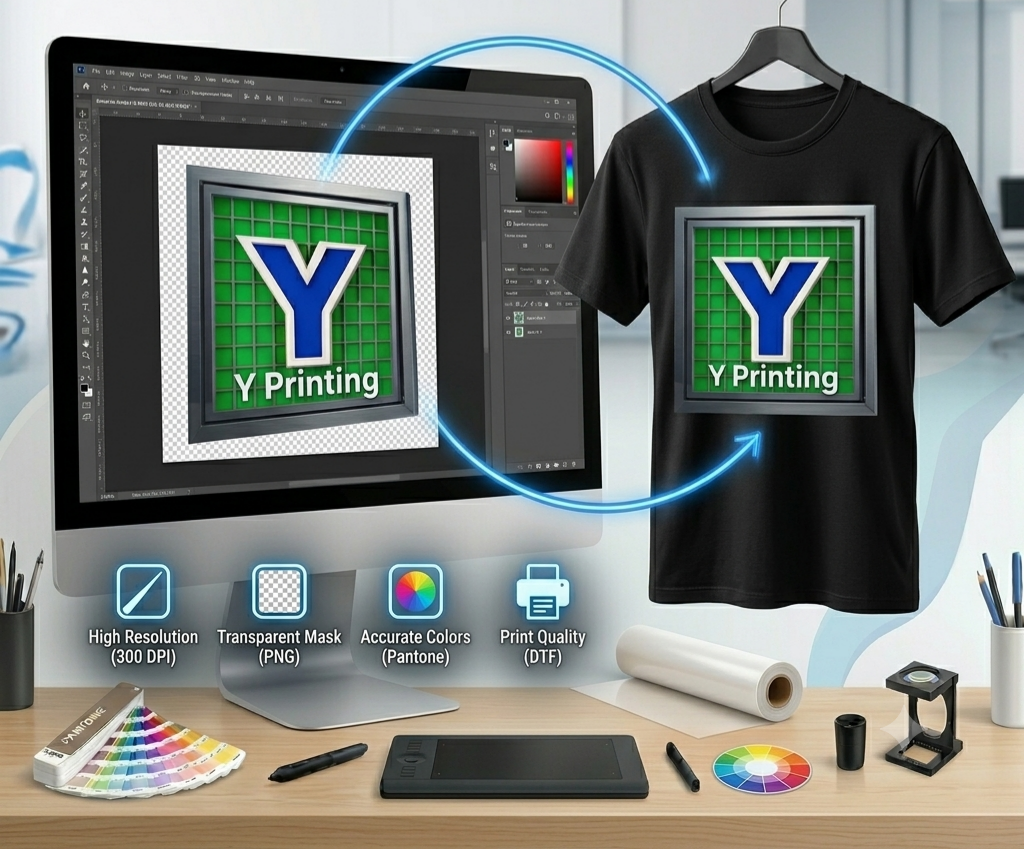
- Minimum: 300 DPI
- Ideal: 300 to 600 DPI
Avoid:
- Screenshots
- Social media images
- Images copied from websites
- Compressed JPEGs
The cleaner the source file, the better the final print.
Remove Backgrounds Completely
DTF printers will print everything included in the file.
That means unwanted backgrounds, shadows, and white boxes will also transfer onto the garment.
Before exporting artwork:
- Remove all backgrounds
- Save with transparency
- Double-check edges
- Zoom in for leftover pixels
PNG files are commonly used because they support transparent backgrounds.
Clean edges create a much more professional appearance.
Convert Artwork To The Correct Size
Improper sizing is one of the most common production mistakes.
Always design artwork at its actual print dimensions.
Common sizes include:
Adult Front Chest
10″ x 10″
Adult Full Front
11″ x 14″
Left Chest Logo
3.5″ x 3.5″
Sleeve Print
3″ x 12″
Youth Front
8″ x 10″
Avoid enlarging artwork after it’s been created because doing so reduces image quality.
Use RGB Color Mode Before Printing
Many beginners automatically work in CMYK.
However, most DTF workflows actually process artwork in RGB first.
RGB often provides:
- Better color vibrancy
- Wider color ranges
- More accurate conversions
Popular color profiles include:
- sRGB IEC61966-2.1
- Adobe RGB
Always confirm your RIP software requirements before exporting files.
Keep Small Details Large Enough To Print
Tiny elements may disappear during printing.
Pay attention to:
- Thin lines
- Small text
- Fine textures
- Intricate patterns
Recommended minimum sizes:
- Text: 10 pt or larger
- Line thickness: 1.5 pt minimum
If customers submit complicated designs, simplify them before production.
Sometimes less detail actually produces better results.
Organize Layers Before Exporting
A messy design file slows production.
Professional designers organize layers for efficiency.
Suggested layer organization:
Background Layer
Keep hidden or deleted.
Main Artwork Layer
Primary graphic elements.
Text Layer
Editable text elements.
Effects Layer
Shadows, outlines, and textures.
Labeling layers properly also helps if revisions are needed later.
Good organization becomes extremely valuable when processing multiple customer orders.
Export In The Proper File Format
Different workflows support different formats.
Most DTF printers work well with:
- PNG
- PSD
- TIFF
For most businesses, PNG is the easiest option.
Export settings:
- Transparent background
- 300 DPI
- Original dimensions
- No compression
Always save an editable version separately.
Never overwrite your master design file.
Create A Simple Artwork Quality Checklist
Professional shops use repeatable systems.
Before sending artwork to print, verify:
☑ Resolution is 300 DPI
☑ Background is transparent
☑ Correct dimensions are set
☑ RGB color mode is enabled
☑ Small details are readable
☑ Layers are organized
☑ Export format is correct
This simple checklist can dramatically reduce production errors.
Common Artwork Mistakes To Avoid
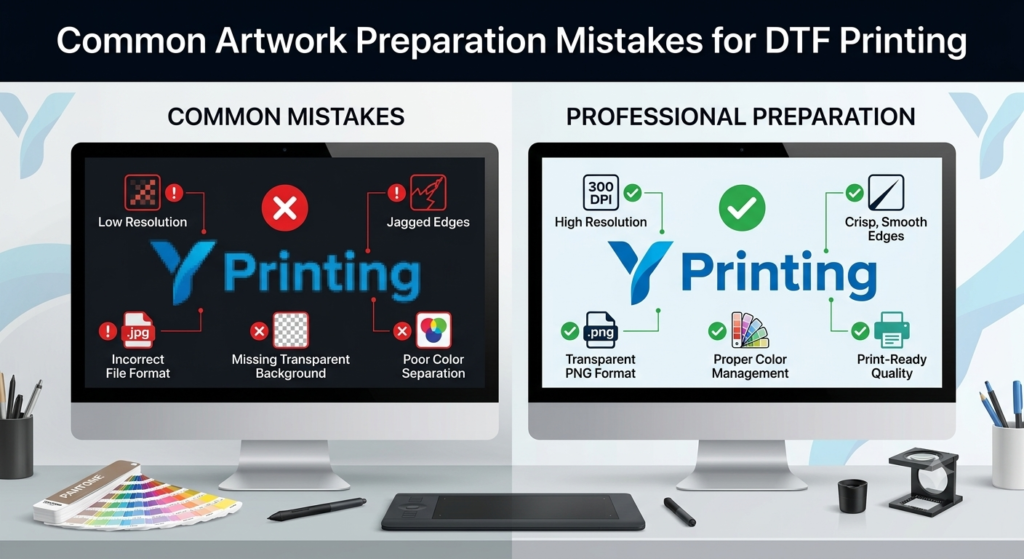
Many printing problems come from avoidable errors.
Avoid these common mistakes:
Stretching Low Resolution Images
This creates blurry prints.
Leaving White Background Boxes
These transfer onto garments.
Using Tiny Fonts
Small text becomes unreadable.
Exporting Incorrect Sizes
This causes placement issues.
Ignoring Color Profiles
Colors may appear different than expected.
Correcting these early saves significant time and materials.
Continue Exploring Y Printing Resources
If you’re building a complete DTF workflow, these resources can help improve efficiency.
Perfect for businesses that want ready-to-press designs without investing in printing equipment.
Choosing high-quality film can improve color vibrancy, peeling performance, and durability.
Learn how ink quality directly affects color accuracy and print consistency.
Understand how adhesive powder impacts wash durability and garment feel.
Explore custom apparel services for businesses, schools, teams, and organizations.
Learn how Y Printing helps customers create reliable, professional printing solutions.
Industry References
Consider exploring these industry resources for additional learning:
Learning how to prepare artwork for DTF printing is one of the fastest ways to improve print quality and reduce production errors.
The best printers don’t simply own good equipment. They follow consistent systems that begin with proper artwork preparation.
By using high-resolution files, removing backgrounds, setting correct dimensions, organizing layers, and exporting properly, you’ll produce more vibrant, professional, and durable prints every time.
At Y Printing, we believe successful printing starts long before the heat press. Building strong artwork habits today will save time, money, and materials as your business grows.
Frequently Asked Questions
What file format is best for DTF printing?
PNG files with transparent backgrounds are the most commonly used because they are simple, high quality, and widely supported.
What resolution should artwork be for DTF printing?
Artwork should be at least 300 DPI to maintain sharpness and detail.
Should I use RGB or CMYK for DTF artwork?
Most DTF workflows perform best using RGB, but always verify your RIP software requirements.
Can I use images from Google for DTF printing?
No. Most internet images are low resolution and may have copyright restrictions.
Why does my DTF print look blurry?
The most common causes are low-resolution artwork, improper sizing, or compressed image files.