
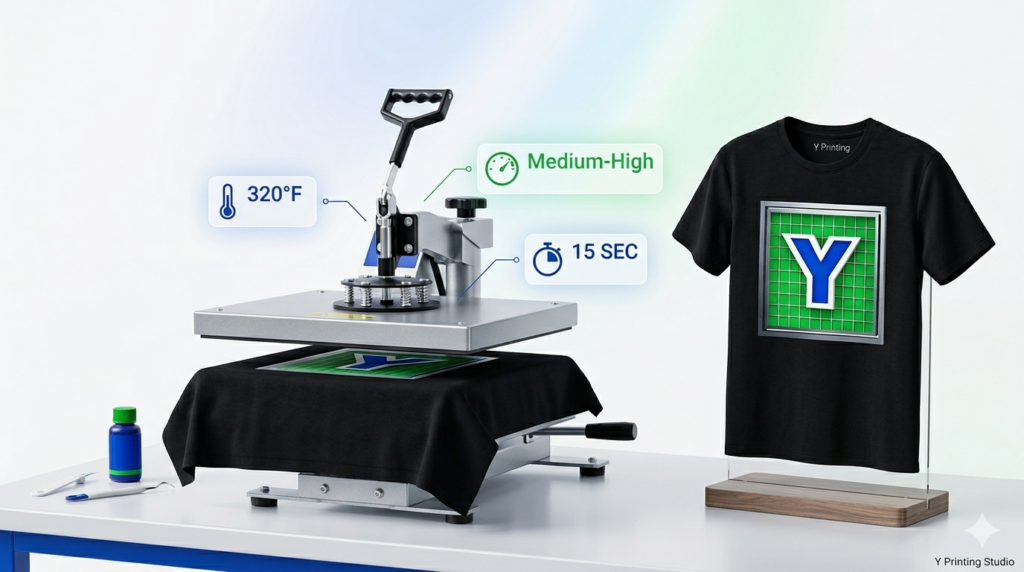
Heat Press Settings for DTF Transfers: 7 Essential Tips
One of the biggest reasons DTF transfers fail has nothing to do with the artwork, printer, or materials. In many cases, poor application settings are the real culprit. Even premium transfers can peel, crack, or lose durability when applied incorrectly.
That’s why understanding Heat Press Settings for DTF Transfers is essential for every print shop owner, apparel decorator, and small business.
Fortunately, you don’t need years of experience to master the process. A few adjustments to temperature, pressure, timing, and workflow can dramatically improve your results.
Whether you’re pressing custom business apparel, sports uniforms, school spirit wear, or retail merchandise, using consistent settings will reduce waste and increase customer satisfaction.
This guide covers seven essential tips to help you apply transfers correctly, avoid costly mistakes, and create professional-quality garments every time.
Why Heat Press Settings Matter for DTF Transfers
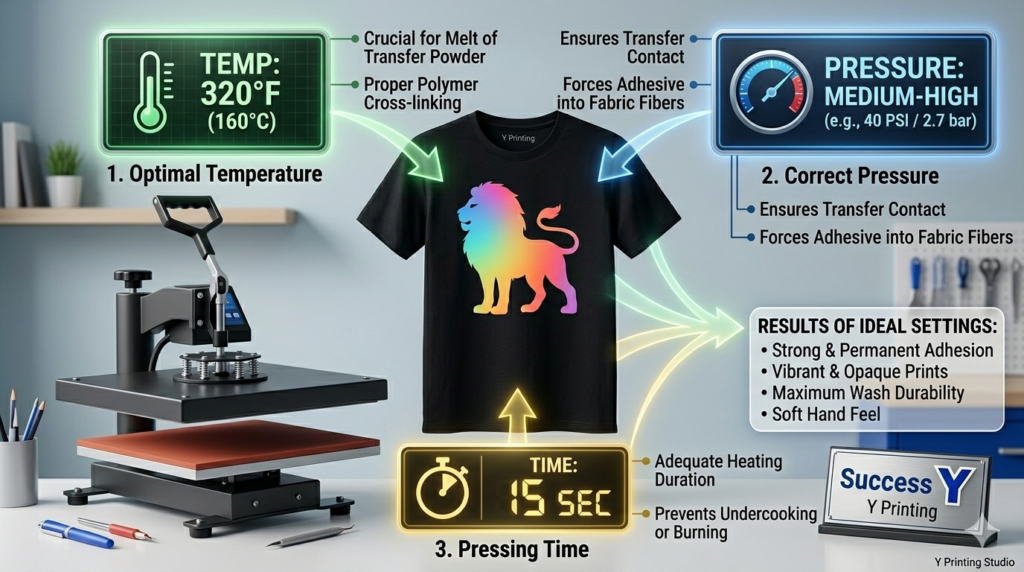
DTF transfers rely on a precise combination of heat, pressure, and time.
When one variable is incorrect, problems quickly appear.
Improper settings may cause:
- Peeling edges
- Cracking after washing
- Weak adhesion
- Dull colors
- Shortened garment lifespan
Using proper Heat Press Settings for DTF Transfers creates repeatable, reliable results.
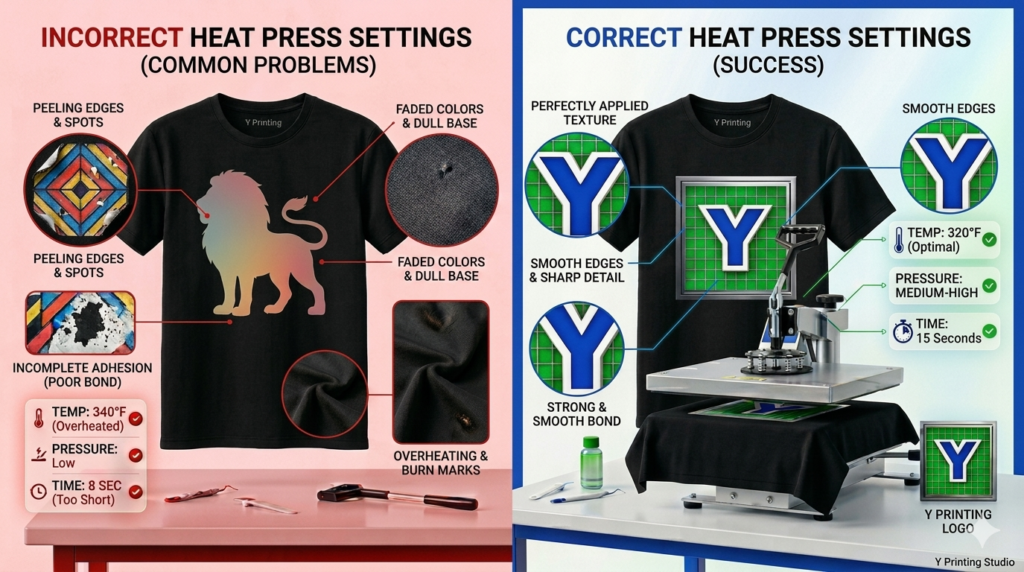
1. Start With the Manufacturer’s Recommended Temperature
Not every transfer is identical.
However, a common starting point is:
Standard Temperature Range
- 300°F–325°F
Most DTF transfers perform well within this range.
Always verify the recommendations from your transfer supplier.
Going too high may scorch fabrics, while going too low can weaken adhesion.
2. Use Medium to Firm Pressure
Pressure is one of the most overlooked variables.
Too little pressure may cause:
- Peeling
- Poor adhesion
- Uneven application
Too much pressure may cause:
- Fabric press marks
- Distortion
- Transfer damage
Aim for medium to firm pressure.
Your press should apply even force across the entire design.
3. Don’t Over-Press Your Transfers
Many beginners think more time equals better results.
This is not true.
Recommended Press Time
- 10–15 seconds
Excessive heat exposure can:
- Damage adhesive
- Dull colors
- Stress garment fibers
Stick to tested settings instead of guessing.
4. Always Pre-Press the Garment
Pre-pressing is a simple step that produces major benefits.
Pre-press garments for 3–5 seconds.
Benefits include:
- Removing moisture
- Eliminating wrinkles
- Reducing static
This creates a better surface for adhesion.
Many businesses that improve their Heat Press Settings for DTF Transfers also adopt consistent pre-pressing habits.
5. Understand Hot Peel vs Cold Peel Instructions
Different transfers require different peeling methods.
Hot Peel
Remove film immediately after pressing.
Benefits:
- Faster production
- Higher efficiency
Cold Peel
Allow the transfer to cool first.
Benefits:
- Improved detail
- Reduced lifting risk
Always follow supplier instructions.
Incorrect peel timing is a common source of failure.
6. Perform a Second Finishing Press
Many professionals use a second press.
This step improves:
- Durability
- Softness
- Long-term adhesion
Second Press Settings
- 5–10 seconds
- Use parchment paper or a finishing sheet
This simple step creates a more professional finish.
7. Test Different Fabrics Before Production
Not every shirt behaves the same way.
Different fabrics respond differently to heat.
Examples:
Cotton
- Excellent heat resistance
- Reliable adhesion
Polyester
- Requires extra caution
- Avoid scorching
Blended Fabrics
- Often produce excellent results
- May need minor adjustments
Testing before large orders reduces risk.
This is one of the most important lessons in mastering Heat Press Settings for DTF Transfers.
Quick Heat Press Settings Chart
Use this as a starting reference.
| Setting | Recommendation |
| Temperature | 300°F – 325°F |
| Press Time | 10-15 seconds |
| Pressure | Medium to High |
| Pre-Press | 5-10 seconds |
| Finishing Press | 10-18 seconds |
| Peel Method | Follow Manufacturer Instructions |
Remember that equipment varies.
Always perform test presses.
Common Heat Press Mistakes to Avoid
Avoid these costly errors:
❌ Pressing without pre-heating the machine
❌ Ignoring pressure adjustments
❌ Guessing temperatures
❌ Over-pressing garments
❌ Skipping test presses
❌ Ignoring peel instructions
These small habits dramatically improve consistency.
Build a Complete DTF Production System
Understanding Heat Press Settings for DTF Transfers is only one part of a successful operation.
Your complete system should include:
- Quality transfers
- Premium film
- Reliable inks
- Consistent adhesive powder
- Organized workflows
Every component contributes to long-term success.
The businesses that grow the fastest prioritize consistency over speed
RELATED Y PRINTING RESOURCES
- Browse our DTF Transfers collection.
- Explore our DTF Film Products.
- Read our DTF Ink Guide.
- Learn from our Polyamide Powder Guide.
- Discover more About Us.
- Scale your business with Custom Printing Solutions.
INDUSTRY REFERENCES
Helpful educational resources:
Mastering Heat Press Settings for DTF Transfers is one of the fastest ways to improve your print quality and reduce wasted materials.
Small adjustments to temperature, pressure, and timing can dramatically impact durability and customer satisfaction.
By standardizing your workflow and testing your materials, you’ll create more consistent results while building a more efficient business.
At Y Printing, we believe success comes from repeatable systems, premium materials, and attention to detail at every stage of production.
Use these seven tips as your foundation and build confidence into every garment you press.
FREQUENTLY ASKED QUESTIONS
What temperature should I use for DTF transfers?
Most DTF transfers work well between 300°F and 325°F, but always follow your supplier’s recommendations.
How long should I press a DTF transfer?
Most applications require 10–15 seconds.
Should I use heavy pressure for DTF transfers?
Medium to firm pressure is typically recommended.
Do I need to pre-press shirts before applying DTF transfers?
Yes. Pre-pressing removes moisture and improves adhesion.
Why are my DTF transfers peeling?
Peeling is often caused by incorrect temperature, pressure, press time, or improper peel instructions.